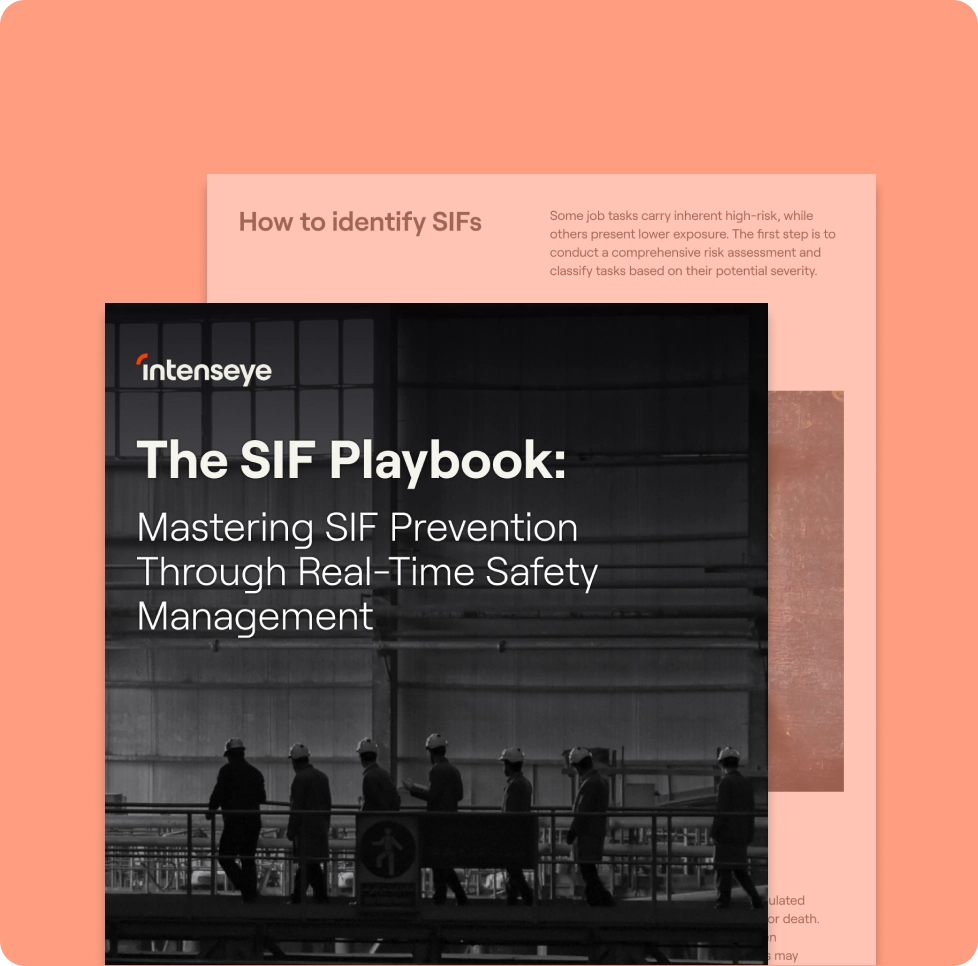
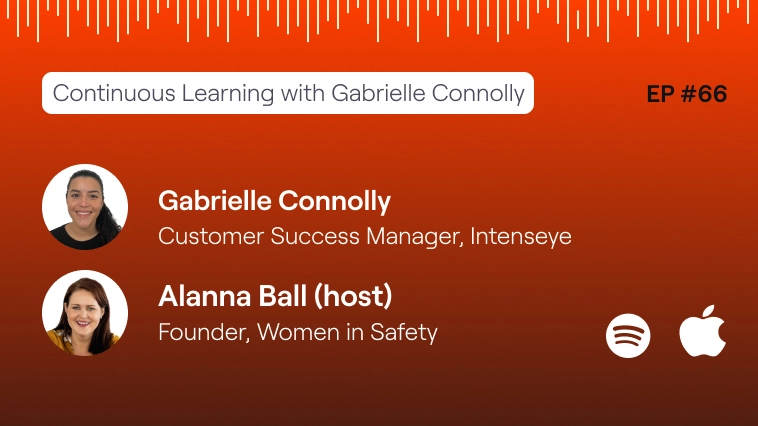
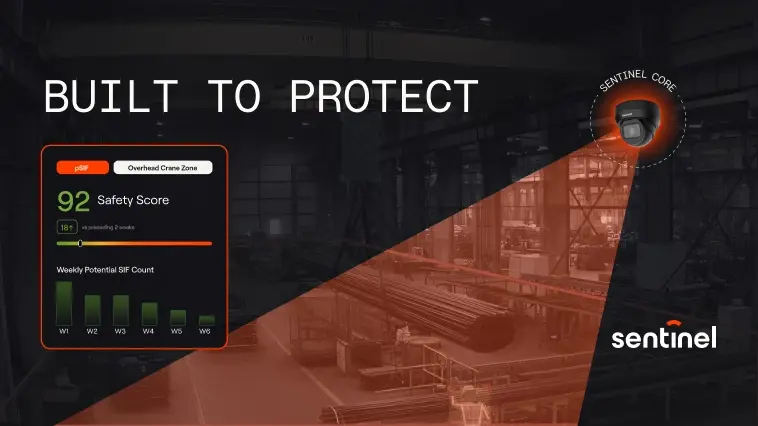
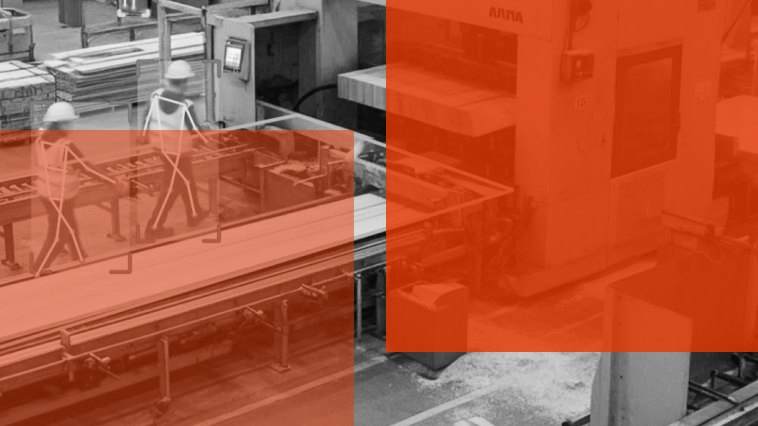
Blog

How to set up a React component library

Rodrigo Dall'Asta Rigo
-Nov 14, 2022

Let’s get straight to the point: we’re setting up the basis for building a React component library using all the good stuff.

The good stuff

  • React – obviously
  • Typescript – because whoever told you types are overrated was wrong
  • Storybook – previews are nice, we’re building UI blocks after all
  • Testing Library – de facto test utilities for React
  • Vite – yep, we’re doing this

Prep time

The hardest part of this whole thing is to decide on a name. You might need a couple of days for this. But don’t give up, believe in your imagination.

I’m going with react-component-lib and I’m not happy about it.

mkdir react-component-lib && cd $_

Let’s start by creating a npm package.

npm init --yes

And since this is a React library written in Typescript, we need to bring these in.

npm install -D \
react \
react-dom \
typescript \
@types/node \
@types/react \
@types/react-dom

We should change some of Typescript’s defaults, we can do this by adding a file named tsconfig.json with the following configuration in it.

{
"compilerOptions": {
"allowSyntheticDefaultImports": true,
"esModuleInterop": true,
"isolatedModules": true,
"jsx": "react-jsx",
"lib": ["DOM", "DOM.Iterable", "ESNext"],
"module": "ESNext",
"moduleResolution": "Node",
"noEmit": true,
"resolveJsonModule": true,
"skipLibCheck": true,
"strict": true,
"target": "ESNext"
},
"include": ["./src"]
}

The button

It always starts with the button. There’s something about them, I can’t really explain. Here’s our button. This goes in src/components/button/button.tsx.

import { ComponentProps, forwardRef } from "react";
// Let's expose all the available properties from the HTML button tag
export type ButtonProps = ComponentProps<"button">;
// It's also a good idea to expose the Ref type
export type ButtonRef = HTMLButtonElement;
// The button
export const Button = forwardRef((props, ref) => (

));
// The name for this component in React DevTools
Button.displayName = "Button";

If you want cleaner paths when importing the button, you can add a src/components/button/index.ts file as well.

export * from "./button";

Finally, we need an entry point for our library. It’s common sense to use src/index.ts for this.

export * from "./components/button";

I wish we could end here, and maybe one day we will. One can have hope.

Bundling it up

So far we have a button component written in Typescript, but we should publish a Javascript component instead. We have a few options here: we could exhaust ourselves by using Webpack, or struggle with plugin integrations with Rollup. However, we can avoid some of the hassles by using Vite – it’s fairly new, it does most of the dirt work for us, and most importantly, it works.

Start by installing Vite and its friends.

npm install -D \
vite \
vite-dts \
@vitejs/plugin-react

Now it’s the time we tell applications how they can consume this package, let’s update our package.json to look something like this one.

{
  "name": "react-component-lib",
  "version": "1.0.0",
  "main": "dist/react-component-lib.cjs.js",
  "module": "dist/react-component-lib.es.js",
  "files": [
"dist",
"src" ],
  "scripts": {
    "build": "vite build"
  },
  "peerDependencies": {
    "react": "^17.0.2",
    "react-dom": "^17.0.2"
  },
  "devDependencies": {
    "@types/node": "^17.0.21",
    "@types/react": "^17.0.40",
    "@types/react-dom": "^17.0.13",
    "@vitejs/plugin-react": "^1.2.0",
    "react": "^17.0.2",
    "react-dom": "^17.0.2",
    "typescript": "^4.6.2",
    "vite": "^2.8.6",
    "vite-dts": "^1.0.4"
  }
}

Here are the important bits from the snippet above:

  • main – file used for CommonJS environments
  • module – file used for ESModules environments
  • files – everything we have to offer
  • peer dependencies – other libraries we’re using that applications must provide

And below is all the configuration we need to build this library, add a vite.config.ts file with the following code.

import react from "@vitejs/plugin-react";
import { defineConfig } from "vite";
import dts from "vite-dts";
import { peerDependencies } from "./package.json";
export default defineConfig({
  build: {
    lib: {
      entry: "src/index.ts",
      formats: ["cjs", "es"],
    },
    // Applications should handle minification
    minify: false,
    rollupOptions: {
      // Do not include peer dependencies
      external: Object.keys(peerDependencies),
      output: {
        // Since we publish our ./src folder, there's no point
        // in bloating sourcemaps with another copy of it
        sourcemapExcludeSources: true,
}, },
    sourcemap: true,
Blog post: Setting up a React component library
6
// Applications should handle polyfills
    target: "esnext",
  },
  plugins: [dts(), react()],
});

And that’s it! We can now build this library into dist by running:

npm run build

Preview with Storybook

Our button is going places. We wrote it using Typescript and then built its Javascript counterpart for applications to consume. Wouldn’t it be nice to actually see how it looks before we publish this library? I surely think so.

No reason not to add Storybook to the mix then.

npm install -D \
storybook-builder-vite \
@storybook/addon-essentials \
@storybook/react

Storybook requires some little configuration to work, done in .storybook/main.ts .

module["exports"] = {
  addons: ["@storybook/addon-essentials"],
  core: {
    builder: "storybook-builder-vite",
  },
  features: {
    // Enable automatic code-splitting,
    // will come as default in Storybook 7
 storyStoreV7: true,
  },
  framework: "@storybook/react",
  stories: ["../**/*.stories.@(ts|tsx)"],
};

Let’s add our button stories in src/components/button/button.stories.tsx . That’s what we’re going to see when running Storybook. You can play around with the component props, and even add more stories as named exports.

import type { ComponentMeta, ComponentStoryObj } from "@storybook/react";
import { Button as ButtonComponent } from "./button";

// General component information is exported as default
export default {
  component: ButtonComponent,
  title: "Button",
} as ComponentMeta<typeof ButtonComponent>;
// Individual stories are named exports
export const Button: ComponentStoryObj<typeof ButtonComponent> = {
  args: {
    children: "Click me!",
 },
};

It’s also handy to include a script in package.json to run Storybook.

{
// ...
  "scripts": {
    // ...
    "storybook": "start-storybook"
  }
}

And we’re good to go!

npm run storybook

Once it finishes loading, a tab should pop up in your favorite browser. Select the Button story from the sidebar, and if all is worked out, you should see a button on the screen begging you to click it. Go ahead, you can click it.

Adding tests

I know tests can sound scary, but it’s actually pretty straightforward to configure in this setup. We will be using some of the standard tools for testing React components, alongside an amazing tool for integrating tests in Vite, appropriately called Vitest.

First, install all these dependencies.

npm install -D \
  @storybook/testing-library \
  @storybook/testing-react \
  @testing-library/jest-dom \
  @testing-library/react \
  @testing-library/user-event \
  @types/jest \
  jsdom \
  vitest

Following with Testing Library setup in src/setupTests.ts .

import "@testing-library/jest-dom";

Vitest configuration is simple, start by extending Vite’s configuration types by adding this line to the top of your vite.config.ts .

/// <reference types="vitest" />

And now we can include all the configurations we need for Vitest in vite.config.ts .

// ...
export default defineConfig({
// ... test: {
    environment: "jsdom",
    globals: true,
    setupFiles: "./src/setupTests.ts",
 },
})

Then, we should tell Typescript where to look for global types for things like describe and expect by adding this line to your tsconfig.json .

{
  "compilerOptions": {
// ...
    "types": ["vitest/globals"]
  }
}

And we’re done with the tooling, all we need are test cases. Let’s write some in src/components/button/button.test.tsx. (all must be *)

import { composeStories } from "@storybook/testing-react";
import { render, screen } from "@testing-library/react";
import userEvent from "@testing-library/user-event";
import all as stories from "./button.stories";

// We can reuse component stories in our tests!

const { Button } = composeStories(stories);
describe("Button", () => {
  it("should render the button", () => {
    render(<Button />);
    const button = screen.getByRole("button");
    expect(button).toBeInTheDocument();
  });
  it("should be clickable", () => {
    const onClick = vi.fn();
    render(<Button onClick={onClick} />);
    const button = screen.getByRole("button");
    userEvent.click(button);
    expect(onClick).toHaveBeenCalled();
 });
});

Finally, include a handy script.

{
// ...
  "scripts": {
    // ...
    "test": "vitest"
  }
}

The moment of truth, run it!

npm run test

Publishing

At this point, we’ve done all that’s required to publish a React component library. We started by setting up the package and added tooling for bundling, previewing and testing it. Now the only thing left is to send it to the world.

You might have to create an npm account if you haven’t done it before. Once that’s out of the way, start by logging in to npm.

npm login

Remember to build once again before publishing, just run npm run build. After building you can publish this library as a public package in npm.

npm publish --access public

And we’re done! Now you and all your friends should be able to see your package on npm.

Finishing touches

There’s no right way for setting up a React component library. This is just a quick and simple solution to get you started with bundling tools. Consider investigating different alternatives, there are many out there. You can even find some ready-made solutions out in the wild, go explore. However, if you wish to continue with this setup, consider improving it by adding extra tools for making sure your code is reliable, like formatters and linters.

#Blog Post
#intenseye
Schedule a Demo